

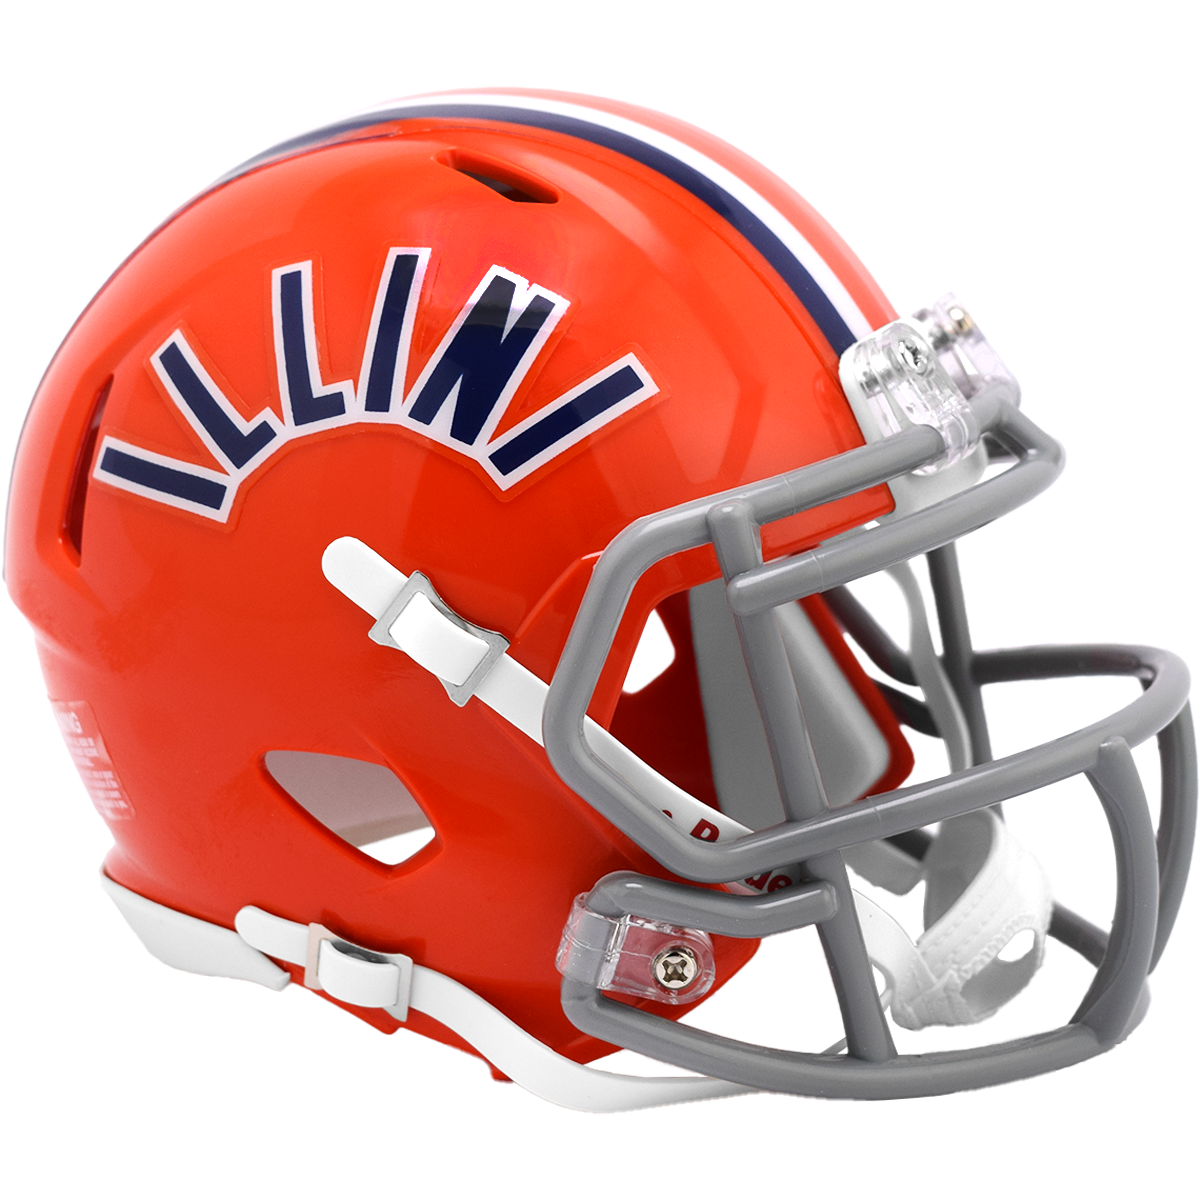
Okay, so, check it out. I gotta tell you about this little project I tackled. Saw the Illinois Fighting Illini rocking these sweet throwback helmets, and I was like, “I gotta recreate that!”

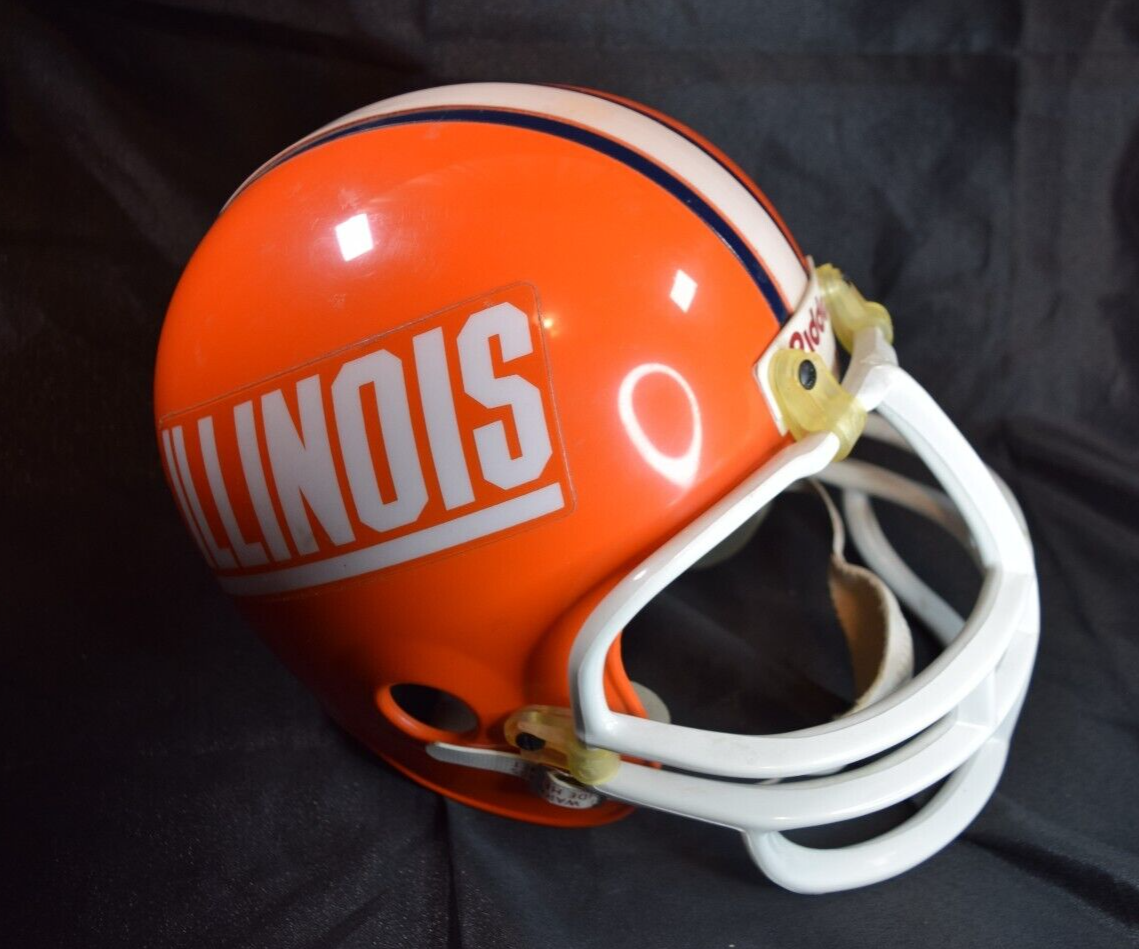
First things first, I did some digging. Needed to find good reference pics. You know, clear shots of the helmet from all angles. Google Images was my best friend here. I was searching for anything that would give me the details. I needed to see the color, the stripe pattern, the logo placement – the whole shebang.
Once I had enough reference material, it was time to decide on the base helmet. I wanted something that looked close to the real deal. Ended up snagging a blank helmet online. A plain white one. Figured that would give me the best canvas to work with.
Next, the fun part: painting! I masked off the area for the stripe. This was tricky, gotta get that perfect width and placement. Used painter’s tape, nice and careful. Then, with some blue spray paint that I’d picked up at the hardware store, I laid down a few light coats. Let it dry completely between coats, you know, to avoid any runs or drips. Patience is key here.
After the blue was dry, I peeled off the tape. And then? More masking! This time for the orange stripe. Same process as before, but with orange spray paint. Again, light coats, letting it dry, all that jazz.
Okay, with the stripes done, it was time for the Illini logo. Now, I’m no artist, so freehanding it was out of the question. I found a high-res image of the logo online and printed it out. Then, I used some carbon paper to trace it onto the helmet. This gave me a nice outline to follow.
Then, I carefully painted in the logo. This took forever. Used some acrylic paints and tiny brushes. My hand was cramping up like crazy. But, gotta get those details right. This is what makes or breaks the whole project, you know?
Finally, once everything was dry, I hit the whole thing with a clear coat. This protects the paint job and gives it a nice, glossy finish. Makes it look legit.
- Finding reference pics.
- Choosing the base helmet.
- Masking and painting the stripes.
- Tracing and painting the logo.
- Applying a clear coat.
The Result
And that was it! The helmet turned out pretty darn good, if I do say so myself. It’s not perfect, but it’s close enough. I’m super happy with how it looks. Plus, I learned a lot about painting and masking. Might have to try another throwback helmet sometime!


