

Okay, here’s my attempt at a blog post, mimicking the style you described.

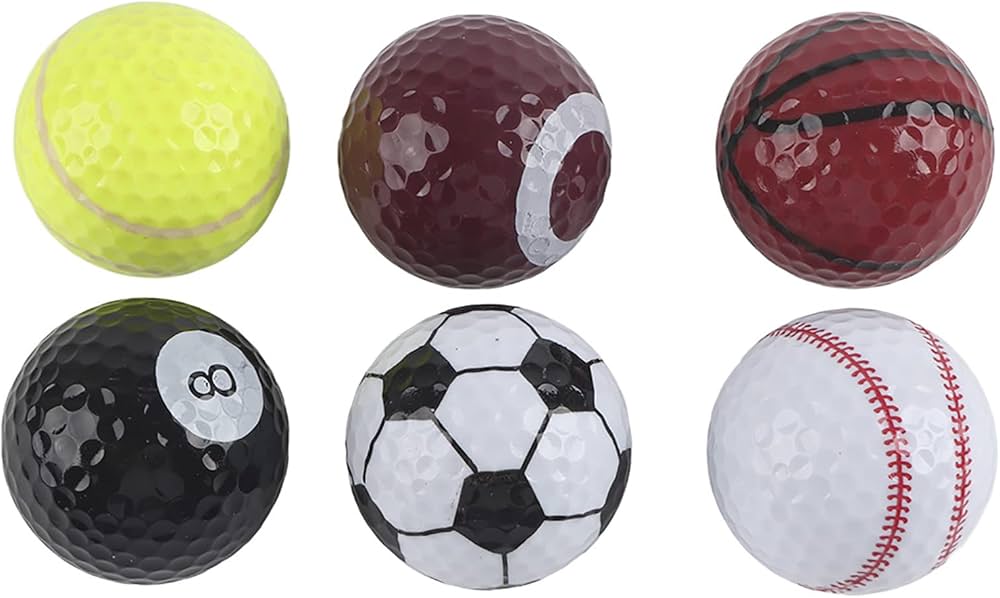
Okay folks, lemme tell ya ‘bout my weekend project. I was messing around, trying to combine two totally different things, just to see what would happen. The idea? Football golf balls. Yeah, you heard right.
It all started when I was cleaning out the garage. Found a bunch of old golf balls, the kind you get for cheap, and then spotted my kid’s deflated mini football. A lightbulb kinda went off. What if…?
First things first, safety! I grabbed some safety goggles and gloves. Didn’t want any bits flying into my eyeballs.
- Step 1: Roughing Up the Golf Balls. I took some sandpaper, pretty coarse stuff, and gave those golf balls a good once-over. The goal was to create a surface that the glue would really stick to. Scuffed ‘em up real good.
Next up, cutting the mini football. This was trickier than I thought. The rubber was tougher than I remembered. I used a utility knife, carefully, to cut the football into small strips, roughly the size and shape of the panels you see on a regular football.
- Step 2: Football Panel Prep. Each strip was wiped down with rubbing alcohol to remove any dirt or residue. Gotta have a clean surface for gluing!
Gluing Time!
Now for the fun part (and the messy part). I used some heavy-duty contact cement. This stuff STINKS, so I made sure I was working outside. I applied a thin layer of glue to both the scuffed golf ball and the back of each football panel strip. Then, I let it sit for a few minutes until it got tacky.
- Step 3: Sticking ‘em Together. This was the most tedious part. I carefully pressed each football panel onto the golf ball, trying to get them as evenly spaced as possible. It was kinda like putting a puzzle together, except the pieces were curved and slippery.
It looked like a total mess at first, all lumpy and uneven. But after I got a few panels on, it started to resemble a football, kinda. I used rubber bands to hold the panels in place while the glue dried completely. I let it sit overnight.
The next day, I peeled off the rubber bands. The football golf balls were… interesting. They were definitely lumpy and not perfectly round, but they looked like tiny footballs. I gave ‘em a test swing out in the yard.
- Step 4: The Big Test. They flew… okay. Not as far as a regular golf ball, obviously. And they had a weird wobble to them. But they flew! And they looked hilarious doing it.
Honestly, it was more about the process than the result. It was a fun little project that kept me busy for a weekend. Would I use these football golf balls on a real golf course? Probably not. But they’re a great conversation starter, and my kid thinks they’re awesome. Maybe I’ll make a whole set!

Anyway, that’s the story of my football golf balls. A bit silly, a bit messy, but a whole lot of fun.


