

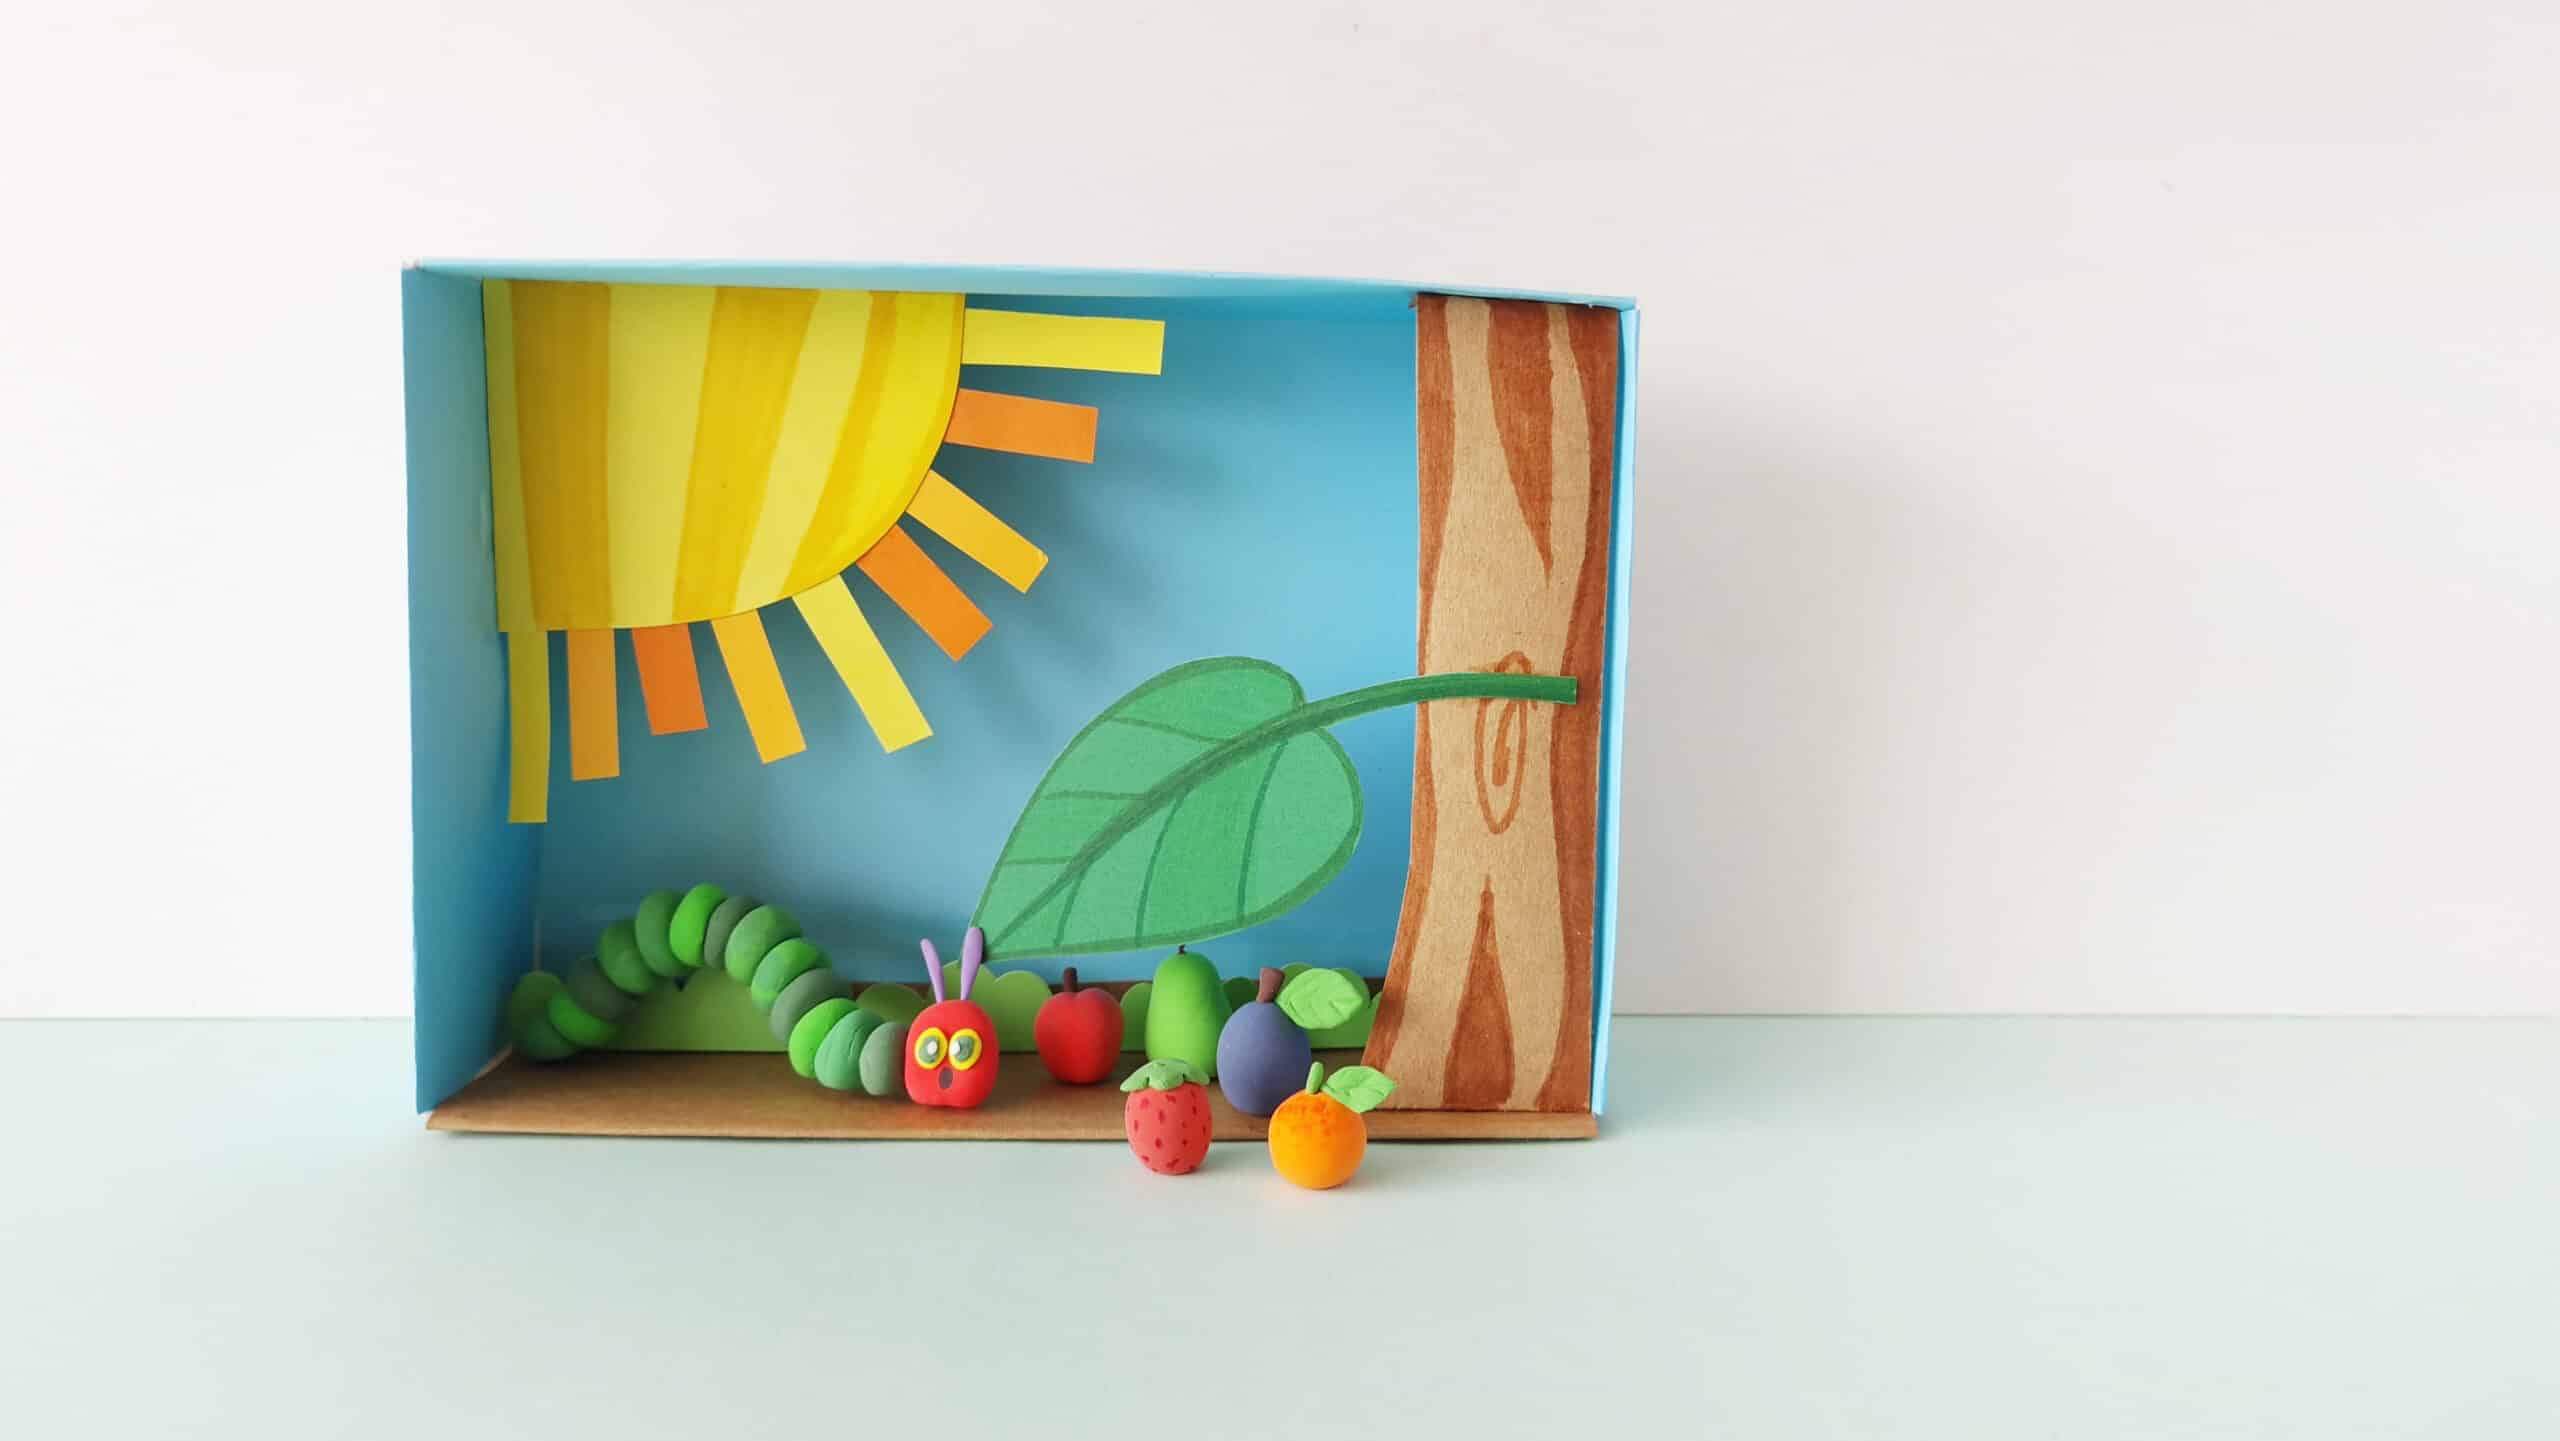
Okay so this whole caterpillar box obsession started when I spotted a bunch of caterpillars wrecking my kale plants last spring. Seriously, they were eating like crazy! Instead of just getting mad, I thought, why not give them their own fancy buffet box? Less mess for me, free pest control.

Scrapping the Ugly Stuff
First thing? Ditched the ugly plastic containers I tried before. They sucked. Water pooled at the bottom, turning leaf salad into caterpillar soup. Plus, looking at that sad plastic box under my plant was depressing. Needed something way better.
So, I started doodling ideas on the back of an old envelope. Key things it had to do:
- Keep leaves fresh longer: Like a tiny greenhouse.
- Let air flow: No suffocating guests!
- Be easy to clean: Looking at you, caterpillar poop.
- Actually look nice: No eyesores allowed.
- Let me spy on them: Gotta watch the show.
The First Prototype Disaster
Grabbed an empty clear takeout container – seemed perfect. Poked loads of holes with a hot skewer (almost burnt my fingers, whoops). Put some damp paper towels and fresh kale inside. Added a couple of caterpillars… felt like a genius.
Genius feeling lasted maybe an hour. Condensation was crazy – walls dripping wet, leaves turning to mush. The tiny holes weren’t enough for airflow. Cleanup? Nightmare. Stuck my finger in caterpillar poop trying to wipe it. Lesson learned: ventilation is king, soggy leaves are sad.
Back to the Drawing Board (Literally)
Time to upgrade. Hit the craft store feeling determined. Picked up:
- A deep wooden picture frame (no glass).
- Some rolls of fine plastic mesh screen (better than my wonky holes!).
- A wooden plaque for the base.
- Super glue, staples, tiny hinges.
This looked way more promising than some greasy takeout box.
Building Box 2.0
Okay, hands on now. Measured the wooden frame opening and cut a big square of that plastic mesh – way bigger than needed. Stapled the living daylights out of that mesh to the back of the frame. Wanted to be sure those suckers couldn’t chew out.
Next, glued the wooden frame down onto the plaque base. Strong wood glue, clamped it tight, waited forever. Once solid, attached the mesh side with the hinges – made cleaning a breeze later. Bonus? Added a tiny latch thingy to keep it shut tight.
Now for the base: glued down some thin wooden strips inside the bottom corners. Why? To hold a plastic tray above the actual wooden base, creating a gap. Put a thin layer of soil mixed with dried moss on that tray. Threw in a small, shallow jar lid filled with fresh water – way better than soggy paper towels. Topped it with my freshest kale leaves.
The Real World Test
Moved some caterpillars over carefully. Honestly, felt a bit like opening a mini zoo exhibit. Crossed my fingers.
Observations started fast:
- Ventilation win! Mesh let air flow properly, no condensation at all.
- Moisture right: Water stayed in the lid, soil stayed damp not wet.
- Easy viewing: Watching them crawl all over the mesh walls was super cool.
- Cleanup dream: Pop the mesh frame open? Boom. Scoop out old leaves/poop, wipe the tray, add fresh stuff. Two minutes flat.
Saw them grow, eat tons, even form chrysalises right on the mesh! Success felt awesome.
What Made the Cut?
This whole messy project boiled down to a few key wins:
- Mesh walls are MVP: Airflow + visibility + prevents escapes.
- Elevated base tray: Keeps leaves clean and drains any excess moisture.
- Keep water separate: Tiny container avoids drowned leaves.
- Access matters: Hinges for cleaning are a lifesaver.
- Ditch plastic: Wood feels nicer, looks nicer.
Cost maybe ten bucks in materials? Totally worth it. Now I gotta build like ten more next year. The caterpillar circus needs more tents!


