

Okay, here is my blog about building a golf simulator shed, following your detailed instructions.

Man, I’ve always wanted a golf simulator. You know, one of those fancy setups where you can whack balls at a screen and pretend you’re at Pebble Beach? But they’re crazy expensive, so I thought, “Why not just build my own?” And since I didn’t want to take over the living room, a shed seemed like the perfect spot. So I started with clearing out my old, trusty garden shed.

It was packed full of junk. Old paint cans, broken tools, a couple of ratty lawn chairs… you name it. Took me a whole weekend just to get it emptied and cleaned. I swept, scrubbed, and even power-washed the walls. It was a mess, but hey, gotta have a clean slate, right? Also, checked the foundation to make sure it is solid.
Next up, I needed to make sure the shed was big enough. Measured the space, and it seemed okay for a basic setup. The ceiling height was a bit of a concern, but I figured I could make it work. Then, it was time to think about insulation. Didn’t want to be freezing my butt off in the winter or sweating like crazy in the summer. So, I lined the walls and ceiling with some thick insulation panels.
- Bought the insulation panels at my local hardware store.
- Cut them to size with a utility knife.
- Attached them to the walls with some heavy-duty adhesive.
After that, I installed some plywood over the insulation to make it look a bit nicer and give me something to mount things on. It was starting to feel less like a shed and more like a room!
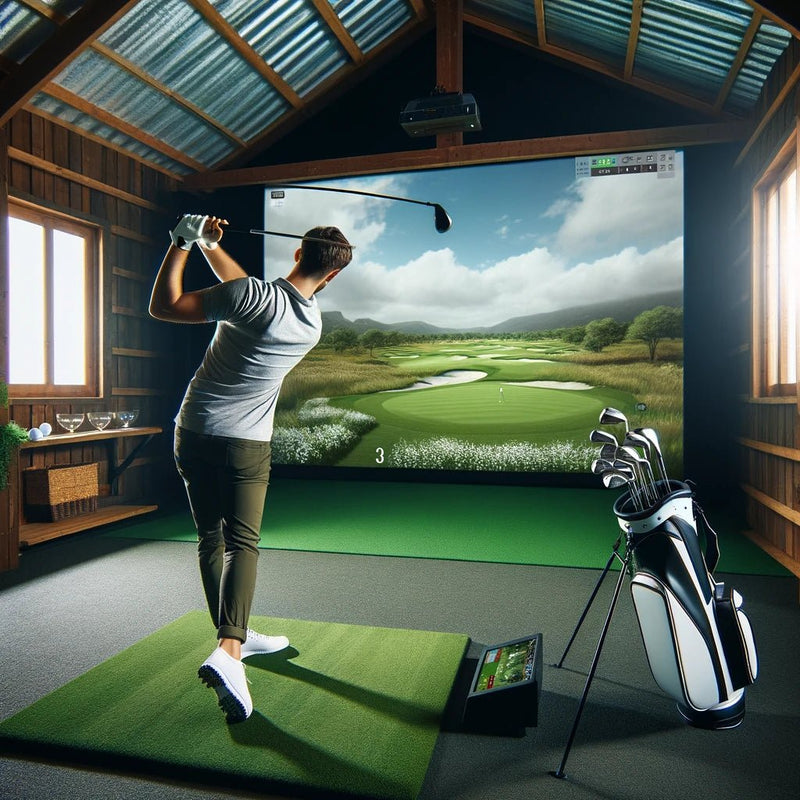
The fun part was setting up the simulator itself. I did a bunch of research online and found a good deal on a launch monitor. It wasn’t the top-of-the-line model, but it got the job done. Then, I bought a decent projector and a heavy-duty screen. Hung the screen from the ceiling, making sure it was nice and taut. Mounted the projector and connected everything to my laptop. Then I installed the hitting mat.
Finally, I added some finishing touches. Put up some shelves for my clubs and balls, added a mini-fridge for drinks, and even threw in a comfy chair for when I need a break. And that’s it! My very own golf simulator shed.
It wasn’t easy
There were definitely some hiccups along the way, like when I dropped the projector…twice. Or when I realized I measured the screen wrong and had to re-cut it. But hey, that’s all part of the DIY experience, right? In the end, it was totally worth it. Now I can play golf whenever I want, rain or shine, without leaving my backyard. It’s not perfect, but it’s mine, and I’m pretty darn proud of it. And it is a really good place to have some fun time with my buddies, and they like it. I’m so glad I did it.
If you’re thinking about building your own golf simulator shed, go for it! Just be prepared for some hard work, a few headaches, and a whole lot of fun. It’s a blast! Believe me, you won’t regret it.


