

Okay, here’s my blog post about setting up a golf simulator, written in the style of a mature, down-to-earth blogger sharing their personal experience:

Alright, folks, so I finally took the plunge and set up a golf simulator in my basement. It’s something I’ve been dreaming about for ages, and let me tell you, the journey was… interesting. Not gonna lie, there were a few bumps along the way, but hey, that’s part of the fun, right?
Getting Started: The Big Decisions
First things first, I had to figure out what kind of setup I wanted. Did I want a full-blown, super high-tech thing, or something a bit more… let’s say, “budget-friendly”? I spent hours, and I mean hours, watching videos and reading reviews. It was overwhelming!
I decided to go for a middle-of-the-road approach. I wanted something decent, but I also didn’t want to sell a kidney to afford it. The key components? A launch monitor, a projector, a screen, and a hitting mat. Sounds simple, right? Ha!
The Nitty-Gritty: Assembling the Beast
Once I’d ordered everything (and waited impatiently for it all to arrive), the real “fun” began. Let’s break it down:
- The Launch Monitor:This is the brains of the operation. It tracks your ball flight, speed, spin, all that good stuff. I opted for one of Skytrak’s, Setting it up was fairly straightforward, just followed the instructions (for once!).
- The Projector:I wanted a clear, bright image, so I went for a short-throw projector. Figuring out the placement was a bit of a headache. Lots of measuring, adjusting, and then measuring again. I finally got it dialed in, though.
- The projector needs to be placed to show the best display effect, which took me a lot of time.
- The Screen:I went with an impact screen, designed to take a beating from golf balls. Hanging it was surprisingly easy. I just used some bungees and hooks, and it worked like a charm.
- Need some tools for that. It is good for me that I am good at DIY.
- The Hitting Mat:Don’t skimp on this! I got a good quality mat that feels like real turf. It makes a huge difference, trust me.
The Software Side: Getting it All Talking
Once everything was physically set up, I had to get the software working. This involved connecting the launch monitor to my computer and the projector. There was a bit of fiddling with settings, drivers, and all that techy stuff. I’m not the most computer-savvy person, so there was some trial and error (and a few frustrated sighs). Eventually, though, I got everything synced up and communicating properly.
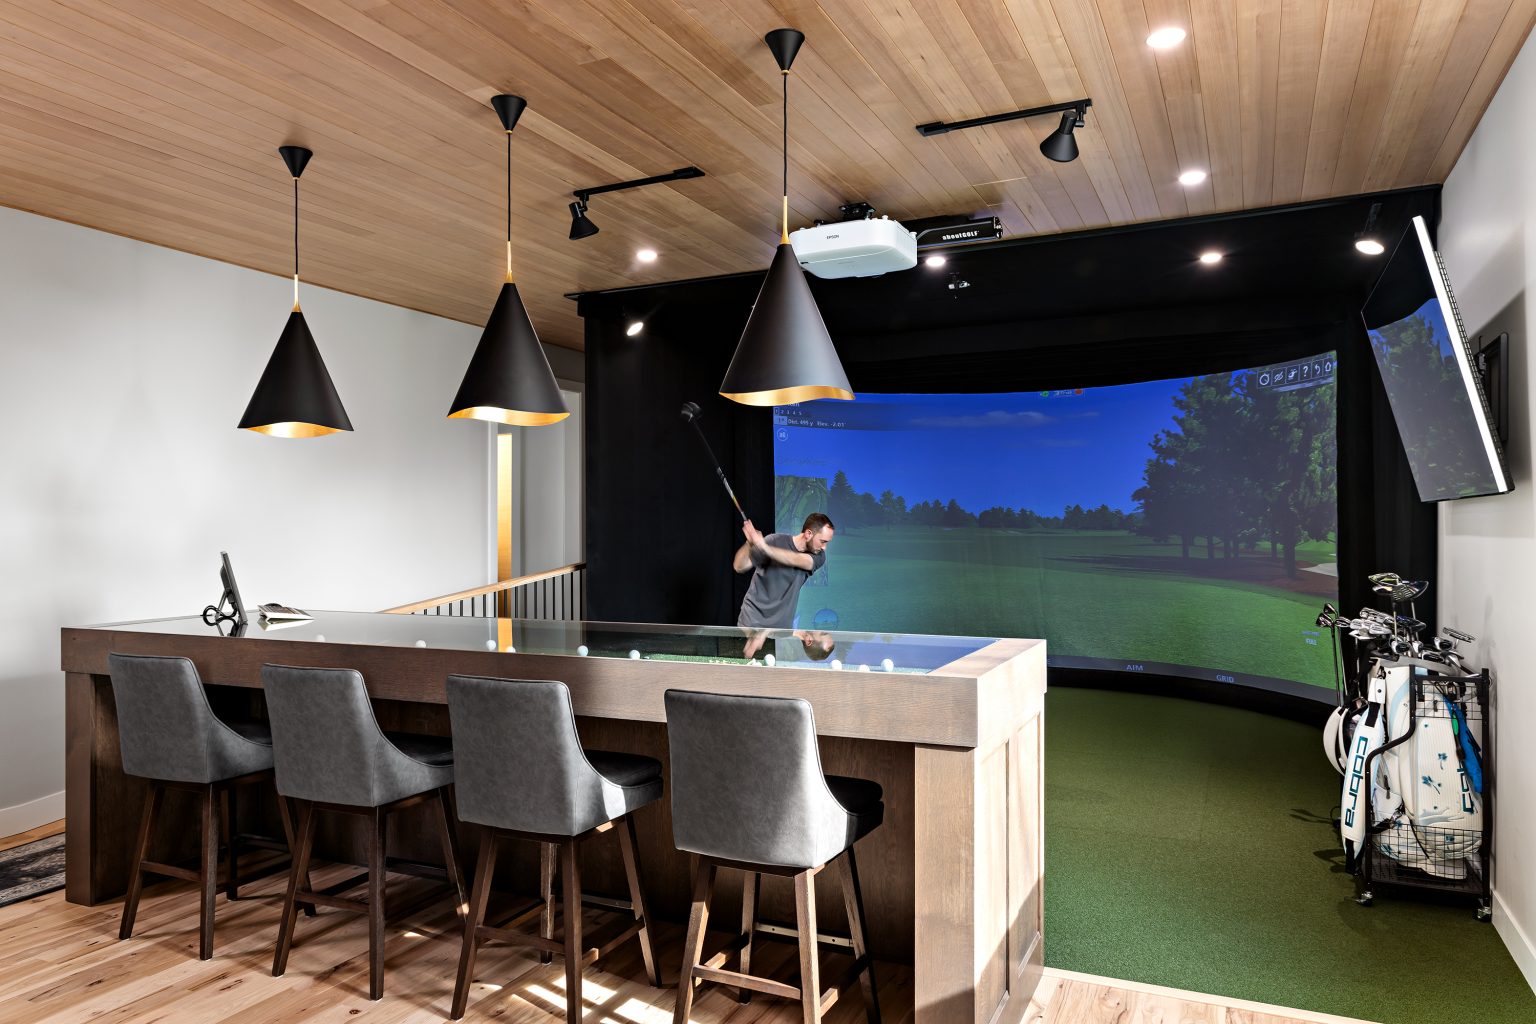
First Swings: Hitting the (Virtual) Links
Finally, the moment of truth! I grabbed my clubs and took my first swing. And… it worked! Seeing the ball flight projected on the screen was amazing. It felt surprisingly realistic. I spent the next few hours just hitting balls and getting used to the system.
It has good quality of picture. Although it is not the same experience as playing outside, it is fun.
The Verdict (So Far)
So, was it all worth it? Absolutely! It’s not perfect, and there are definitely things I’d tweak if I did it again. But overall, I’m thrilled with my setup. It’s a great way to practice and have some fun, especially when the weather outside is, shall we say, less than ideal. If you’re thinking about building your own golf simulator, I say go for it! Just be prepared for a bit of a project. And remember, patience is key. And maybe a few YouTube tutorials.


