

Hey folks, gotta share my latest adventure with ya – finally deciding to tackle my pile of Jeff Hardy WWE figures and actually make ’em look awesome on display. You know how it is, they just end up stuffed in a drawer otherwise. Here’s how it went down:

The Starting Point: A Messy Drawer
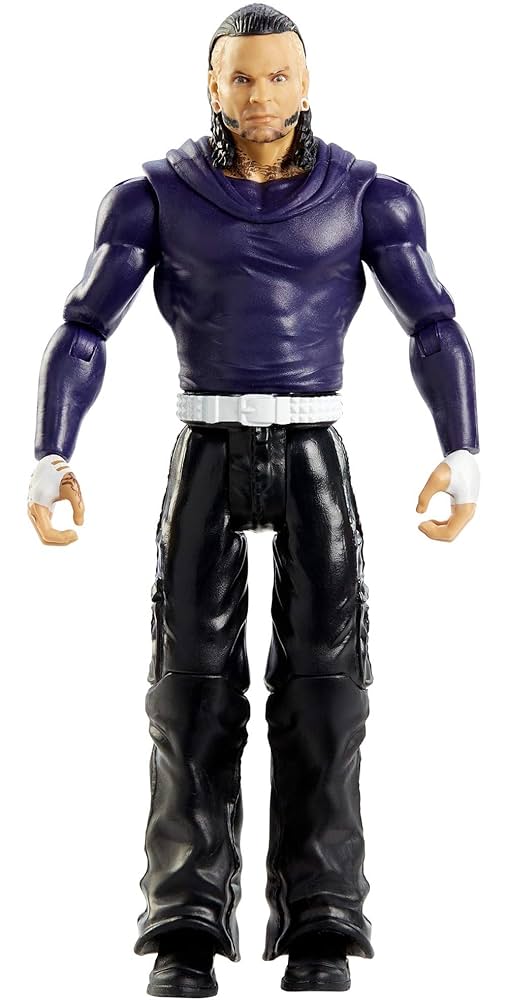
Opened the closet drawer where I usually shove these guys. It was bad, real bad. Just a pile of loose figures, accessories everywhere, limbs kinda tangled up. Picked out my three Jeff Hardys first – classic Swanton Bomb one, a neon TNA-ish look, and that newer return figure. Dug around and found his entrance jacket and a weird microphone accessory. Figured those had potential.

Playing Around Like a Kid
Started placing them loose on the shelf above my desk. Looked flat. Boring. Just figures standing there. Tried different spots – facing straight out, looking sideways, back to back. Still felt like something was missing. They didn’t pop at all.
The Lightbulb Moment
Remembered some tiny plastic risers I got ages ago for spice jars? Dug those out. Slid one under the Swanton Bomb Jeff to lift him up higher than the other two. Holy cow, that tiny change helped! He instantly stood out more. Made the shelf feel a bit less flat. Got me thinking about levels.
Getting Clever (And Cheap)
Rummaged through my junk drawer again. Found a stack of cardboard coasters I never used. Folded one into a triangle shape – boom, instant makeshift ramp for the TNA Jeff! Used some sticky tack (the kind for posters) to secure his feet onto the cardboard. Threw that neon jacket over his shoulder. Suddenly he looked dynamic, like he was mid-entrance! Couldn’t believe the cardboard actually worked.
Dealing with Wobbly Figures
That newer Jeff figure has super loose legs. Stood him up in front, but he kept falling over every time someone walked past. Almost chucked him back in the drawer. Instead, grabbed a clear plastic coffee stirrer from the kitchen. Snapped off a tiny piece, maybe half an inch long. Wedged it right between his legs at the back, propped against his lower back like a little kickstand. Genius move! Stopped him falling over completely. You can barely see the plastic piece.
Spotlight Stealing
Biggest issue now was the lighting. The shelf corner was dim. The figures were just dark blobs from across the room. Went to the hardware store. Found these cheap sticky LED tap lights, the kind you press on. Grabbed one. Slapped it underneath the top shelf lip, pointing straight down at the figures. Flipped the switch. Instant spotlight! Finally made those crazy Jeff colors look bright and bold, especially the neon one. Really made them stand out against the wall.
The Final Piece: Background Noise
Last step felt tricky. Wanted something behind them, but nothing fancy. Looked through some old magazines. Found a page with a cool graffiti pattern I liked. Carefully cut it out, trimmed it to fit the shelf back wall. Stuck it there using just plain tape along the top edge. Honestly, wasn’t sure it would work, but figured it was worth a shot. Stepped back. The busy pattern actually made the figures stand out more, weirdly enough. Didn’t compete, just added some flavor.
Key Stuff I Figured Out (The Easy Way)
- Sticky Tack is Magic: Seriously, the hero for leaning poses or holding loose clothing.
- Clear Plastic Bits Win: Coffee stirrers cut up make perfect clear kickstands.
- Cardboard = Free Diorama: Free ramps or walls if you cut it right.
- Lighting Isn’t Expensive: A simple $3 tap light makes a huge difference.
- Simple Risers Rock: Lift your star figure up just a bit.
And that’s it! Didn’t cost much, mostly used stuff I already had lying around. My Jeff collection finally looks like a real showcase piece instead of drawer clutter. Still stoked about that little DIY cardboard ramp! Who knew?


