

Okay, so check it out, I finally got around to tackling this project I’ve been meaning to do for ages: making some custom kickboxing championship belts. It was way more involved than I initially thought, but totally worth it.

First off, I started with the design. I spent a bunch of time just sketching out different ideas. I knew I wanted something that looked legit, but also had my own personal flair. I messed around with different shapes for the main plate, played with different fonts, and even doodled some crazy-looking side plates. Seriously, my sketchbook looked like a kindergartener went wild.
Once I had a design I was happy with, I needed to figure out the materials. I decided to go with some thick leather for the straps – found a decent piece at a local craft store. For the plates, I originally thought about using metal, but then I realized I don’t have any metalworking tools. So, I ended up going with some sturdy craft foam. It’s lightweight and easy to work with, especially for a noob like me. Plus, I could paint it to look like metal.
Next came the cutting. I traced my plate designs onto the craft foam and carefully cut them out with an X-Acto knife. This took forever! My hand was cramping up like crazy. I had to be super precise to get those clean lines and sharp angles. For the leather straps, I used a utility knife and a metal ruler to get straight cuts. That was a little easier, thankfully.
Then, the fun part: painting. I used some metallic spray paint to give the foam plates that shiny, “championship” look. I did a couple of coats to make sure they were evenly covered. After the base coat dried, I used some acrylic paints to add details like the belt’s name, logos, and some fancy scrollwork. I’m no artist, but I think it turned out pretty decent. Pro tip: use stencils if you’re like me and can’t draw a straight line to save your life.
Assembling everything was a bit of a challenge. I used rivets to attach the plates to the leather straps. It was tricky getting everything lined up perfectly, but I managed. I also added some snaps to the end of the straps so the belt could be adjusted to different sizes. This part took a lot of patience and a couple of do-overs, but hey, that’s part of the process, right?
After that, I added some finishing touches, like a clear coat to protect the paint and give the plates a little extra shine. I also glued some felt to the back of the plates to make the belt more comfortable to wear. It’s the little details that really make a difference, you know?
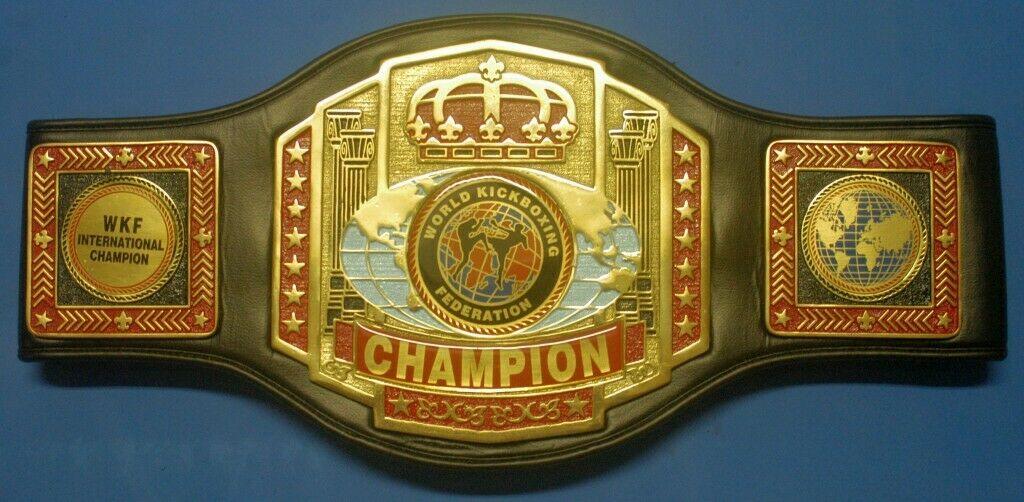
And finally, the big reveal! After all the cutting, painting, and assembling, I had a kickboxing championship belt that I was actually proud of. It’s not perfect, but it’s definitely a unique piece. I even had a mini photoshoot with it, posing like I just won the world title. What a fun project! Would I do it again? Maybe. But next time, I’m investing in some better tools. My hands deserve it!
- Design the belt
- Cut the materials
- Paint the plates
- Assemble everything
- Add finishing touches
Lessons Learned
- Craft foam is your friend when you don’t have metalworking skills.
- Stencils are a lifesaver for non-artists.
- Patience is key, especially when working with rivets.
- Clear coat and felt backing make a huge difference.


